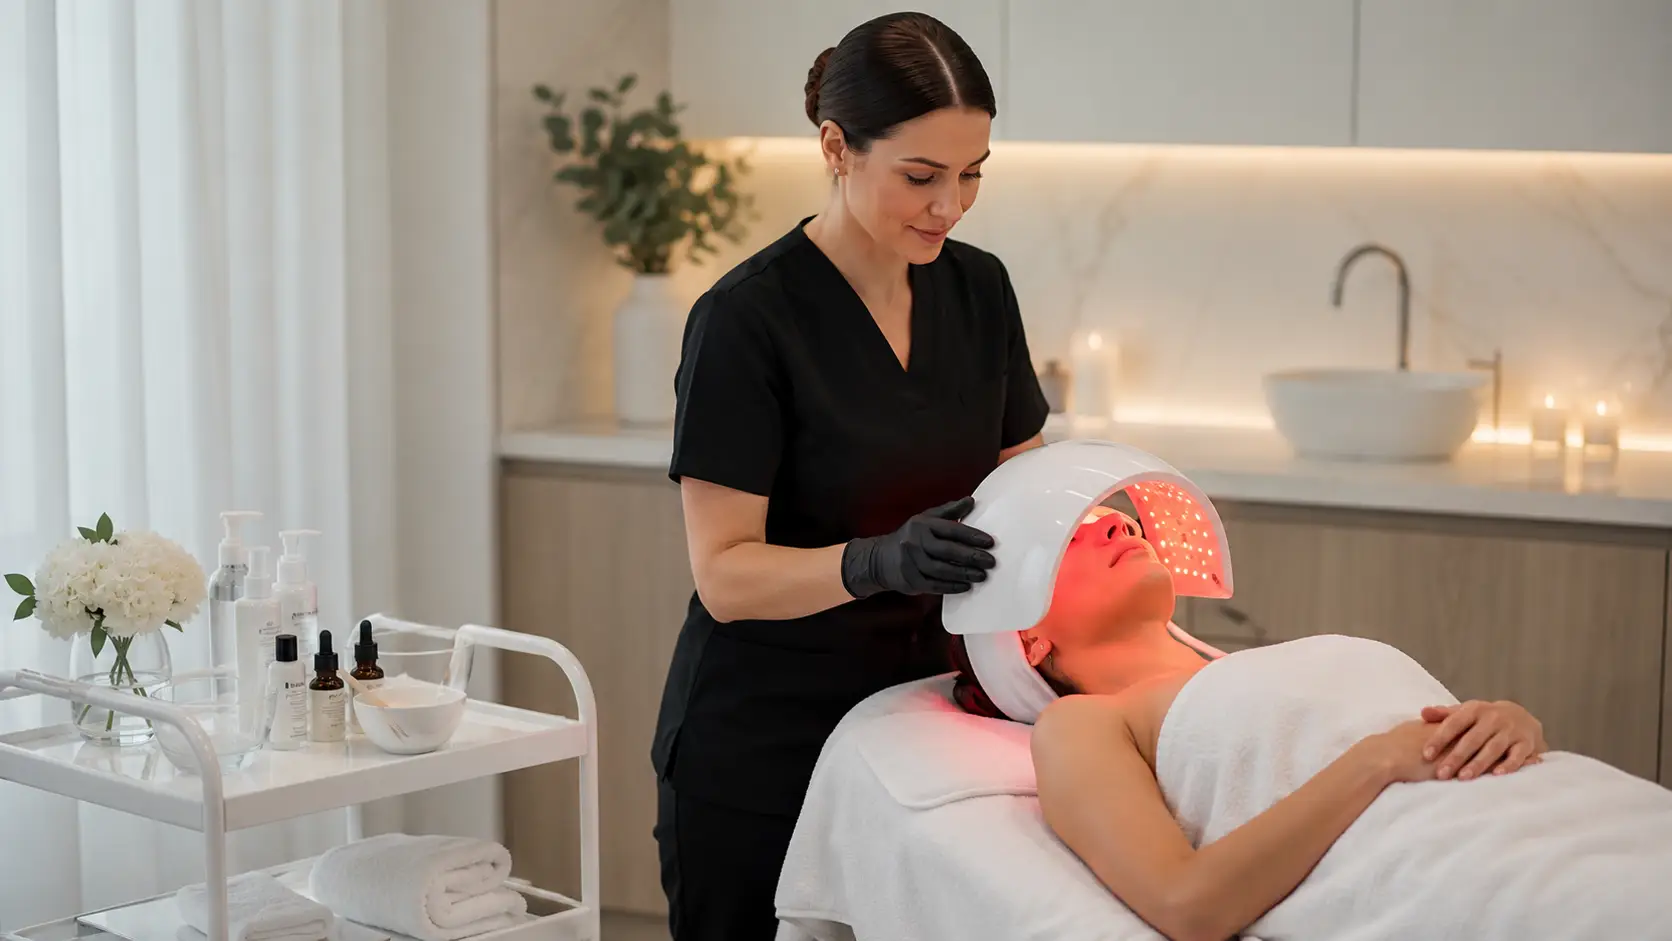
Where Should LED Therapy Go in a Professional Facial?
LED light therapy can be placed at three distinct points in a professional facial: before active treatment steps to prime tissue and improve product receptivity, during the treatment phase over freshly applied serums to enhance absorption and deliver photobiomodulation simultaneously, or after active steps such as extractions, chemical exfoliation, or massage to address inflammation and support barrier recovery. The most common professional placement is in the post-active phase, after serums are applied and before the final moisturizer, where LED addresses the inflammation and permeability created by earlier treatment steps while enhancing ingredient penetration.
- Pre-treatment LED placement increases local microcirculation and primes cellular receptors before active steps begin — most useful before massage or chemical exfoliation.
- Mid-treatment placement over freshly applied serums combines photobiomodulation delivery with enhanced serum absorption through improved microcirculation.
- Post-active placement is the most clinically common and most evidence-supported position — addressing inflammation, redness, and barrier compromise created by extractions, needling, or chemical exfoliation.
- Post-treatment LED is often combined with a hydration mask, compressing the treatment timeline while delivering simultaneous photobiomodulation and occlusive hydration.
- The correct placement is determined by the primary clinical objective, the treatment steps performed earlier in the facial, and the device’s irradiance output and wavelength specification.
Estheticians learning to integrate LED light therapy into their facial protocols frequently encounter the same foundational question: where exactly does it go? The device has a place in the treatment room — but the precise moment in the facial sequence where it belongs, and why it belongs there, is rarely covered with enough clinical specificity in standard training.
The answer depends on what you are trying to achieve. LED therapy is not a single-function tool that belongs in one fixed location within a facial. Different placements activate different biological mechanisms, and understanding those mechanisms is what allows an esthetician to make an intentional, clinically sound sequencing decision rather than defaulting to whatever feels logistically convenient.
This article covers the three primary placement positions for LED therapy within a professional facial, the mechanism of action that makes each position clinically meaningful, the treatment types that pair most naturally with each placement, and how to think about sequencing decisions across different client skin conditions and treatment objectives. The goal is to give estheticians a framework for making their own protocol decisions — not a single rigid formula that ignores clinical context.
Sequencing LED Therapy in a Professional Facial: What Matters
- LED placement is a clinical decision, not a logistical one — where it sits in the sequence directly affects which mechanisms are activated and what outcomes are achievable.
- Pre-treatment placement primes tissue; mid-treatment placement enhances ingredient absorption; post-treatment placement addresses inflammation and supports recovery.
- The post-active phase is the most common and most evidence-supported placement for most facial types in professional practice.
- LED combined with a hydration mask in the post-active phase is a well-established protocol that compresses treatment time without sacrificing outcome quality.
- Post-extraction LED is one of the highest-value placements available in a standard facial protocol — addressing the inflammation and microdamage that extractions create.
- Wavelength matters: red light (630–660 nm) is appropriate for anti-inflammatory and collagen-stimulating goals; near-infrared (810–850 nm) penetrates deeper; blue light (415–430 nm) is specific to acne protocols.
- Device irradiance determines effective dose — placement timing should always be calibrated to the device manufacturer’s dosing protocol, not a generic industry estimate.
Why LED Placement Within a Facial Is a Protocol Decision, Not a Default
Many estheticians first incorporate LED therapy into their facials by placing it wherever it seems to fit — often at the end of the service, after everything else has been done, as a finishing step. That instinct is not wrong, but it is incomplete. The end-of-facial placement works well for specific clinical reasons. It also misses the value that earlier placements can deliver when the protocol objective calls for them.
Understanding why placement matters requires understanding what LED therapy actually does to skin tissue during the treatment window. Photobiomodulation — the mechanism through which LED light interacts with skin cells — works through the absorption of specific light wavelengths by chromophores in the mitochondria, primarily cytochrome c oxidase. This absorption triggers a cascade of cellular responses: increased ATP production, upregulation of anti-inflammatory cytokine signaling, enhanced local microcirculation, and in the case of red and near-infrared wavelengths, stimulation of fibroblast activity and collagen synthesis pathways.
These responses do not happen in isolation from the rest of the facial. They interact with what has already happened to the skin and what will happen next. Pre-applying LED to a calm skin surface produces a different set of cellular conditions than applying it to skin that has just undergone extractions or chemical exfoliation. Post-treatment LED is not simply “the last step” — it is a targeted intervention on a specific physiological state that earlier treatment steps have created.
This is why protocol sequencing deserves deliberate thought rather than habit. The esthetician who can articulate why LED goes where it does in their facial is a fundamentally more authoritative practitioner than one who can only demonstrate that they include it.
The Three Primary LED Placement Positions and What Each One Does
Professional LED therapy can be meaningfully placed at three distinct points in a facial. Each has a different primary mechanism and a different set of treatment contexts where it delivers the most clinical value.
Pre-Treatment Placement
Applied before active treatment steps begin, after cleansing and toning but before exfoliation, massage, or extractions.
- Increases local microcirculation
- Primes mitochondrial receptors for subsequent steps
- Slightly warms dermal tissue to improve product receptivity
- Supports client relaxation at treatment outset
Mid-Treatment Placement
Applied over freshly applied serums, after exfoliation and before any occlusive layer or mask is introduced.
- Enhances serum ingredient absorption via microcirculation improvement
- Delivers photobiomodulation concurrent with active ingredient uptake
- Most useful when serum contains growth factors, peptides, or HA
- Requires device positioning that does not disturb serum layer
Post-Active Placement
Applied after extractions, chemical exfoliation, or massage — before the final moisturizer and SPF application.
- Directly addresses inflammation created by active steps
- Supports barrier recovery on compromised skin
- Most evidence-supported position in professional literature
- Most naturally accommodates concurrent jelly mask or hydration mask
Why Post-Active Is the Most Common Professional Placement
In the overwhelming majority of professional facial protocols, LED therapy is placed in the post-active phase — after the skin has been worked. This is not simply convention. It reflects the clinical logic that the skin state most in need of photobiomodulation intervention is the one that active treatment steps create: inflamed, mildly compromised, with heightened permeability and active cellular repair demand.
Extractions in particular leave behind a skin surface that is temporarily inflamed at each extraction site. Residual erythema, sebaceous disruption, and micro-trauma are all present. Red light therapy at 630 to 660 nm in this context is directly addressing active inflammatory signaling pathways — not simply providing a pleasant finishing step. Estheticians consistently report that clients whose post-extraction skin received red light show noticeably less post-facial redness and a faster visible recovery in the hours following their appointment.
How Skin State at the Time of LED Application Affects Outcomes
Photobiomodulation does not deliver a fixed, context-independent output regardless of skin state. The cells receiving the light signal are responding from within a specific physiological context — and that context shapes the downstream response.
On calm, unmanipulated skin: LED stimulates baseline mitochondrial activity, microcirculation, and cellular priming. The effect is real but operates from a low-inflammatory baseline, making it most useful as a preparatory or enhancement step.
On post-extraction or post-chemical skin: Pro-inflammatory cytokines are actively elevated. Red light therapy at 630–660 nm directly modulates these signaling pathways — downregulating IL-1β, TNF-α, and other inflammatory mediators while upregulating anti-inflammatory IL-10 expression. The cellular environment makes the anti-inflammatory mechanism more clinically relevant and more immediately visible to both practitioner and client.
On post-needling skin: Both the inflammatory cascade and the wound-healing cascade are simultaneously active. LED therapy supports the anti-inflammatory component while also delivering collagen-stimulating signals to fibroblasts already in an activated repair state — which is why LED following microneedling is one of the most synergistically validated combination protocols in professional esthetics.
How to Sequence LED Therapy in a Standard Professional Facial
The following sequence represents the most common evidence-informed framework for incorporating LED therapy into a standard professional facial. Individual estheticians will adapt this based on their specific service menu, treatment objectives, client skin conditions, and device specifications.
-
Cleanse and Tone Remove makeup, sunscreen, and surface debris. Balance skin pH. This is always step one regardless of LED placement — clean skin is required for any professional treatment step to function as intended.
-
Skin Analysis and Consultation Confirmation Confirm treatment objectives, contraindications for LED, and planned service steps with the client. LED contraindications include photosensitizing medications, active photosensitivity conditions, and certain epilepsy presentations — all must be confirmed clear before proceeding.
-
[Optional] Pre-Treatment LED — 5–8 Minutes If using LED as a preparatory primer before chemical exfoliation or massage, apply here for a short duration. Most appropriate for anti-aging or deep hydration protocols where tissue priming supports subsequent product penetration. Not standard in all facials — evaluate based on objective.
-
Exfoliation (Enzymatic, Chemical, or Physical) Apply the chosen exfoliation method appropriate to the client’s skin condition and treatment plan. Allow appropriate contact time per the product protocol before neutralizing or removing.
-
Extractions (If Indicated) Perform extractions on indicated client skin. This step creates the inflammatory skin state that makes post-active LED placement most clinically valuable. Do not rush from extractions to LED — apply a brief calming mist or toner to prepare the skin surface before serum application.
-
Treatment Serum Application Apply the primary treatment serum appropriate to the protocol objective — hyaluronic acid, growth factor, peptide, or barrier-recovery serum. Allow brief absorption. This is the surface state onto which LED will deliver its photobiomodulation in the next step.
-
LED Therapy — 10–20 Minutes (Post-Active Placement) Position the LED panel over the client’s face at the device manufacturer’s recommended distance. Apply eye protection per safety protocol. This phase is the primary LED delivery window — addressing post-extraction inflammation, enhancing serum absorption, and initiating the cellular repair cascade. A jelly mask or hydration sheet mask can be applied simultaneously during this phase.
-
Mask Removal and Final Hydration If a mask was applied concurrently with LED, remove it now. Apply a final occlusive moisturizer appropriate to the client’s skin type to seal the treatment benefits. Daytime clients receive SPF as the final step.
-
Post-Treatment Consultation and Homecare Guidance Review the immediate skin response with the client. Provide aftercare instructions specific to the treatment steps performed. Discuss any relevant at-home LED therapy protocols if applicable to the client’s ongoing treatment plan.
LED After Extractions: The Highest-Value Single Placement in a Standard Facial
If an esthetician could only place LED therapy in one position across their entire service menu and needed it to deliver the greatest consistent clinical return, the answer for most standard facial types would be: after extractions.
Extractions are among the most physiologically disruptive steps in a routine facial. Each extraction site involves manual pressure applied to the follicular unit, disruption of the pilosebaceous canal, possible micro-tears in surrounding tissue, and an immediate local inflammatory response. Even highly skilled estheticians leave behind a post-extraction skin surface that is temporarily sensitized, erythematous, and in active tissue repair mode. That skin state is precisely the one for which red light therapy’s anti-inflammatory mechanism is most directly relevant.
What Red Light Does to Post-Extraction Skin
Red light at 630 to 660 nm absorbed by mitochondrial cytochrome c oxidase in the cells surrounding each extraction site triggers downstream signaling that includes downregulation of pro-inflammatory interleukins — notably IL-1β and TNF-α — alongside upregulation of IL-10, an anti-inflammatory cytokine. The practical clinical result is measurably faster resolution of post-extraction erythema, reduced post-facial visible redness when the client leaves the treatment room, and a lower incidence of post-extraction papule formation in acne-prone clients.
For estheticians who perform extraction-heavy facials and have not yet incorporated post-extraction LED therapy, the single addition of a 10-to-15-minute red light application after serum and before the final moisturizer frequently becomes one of the most immediately appreciated protocol changes both by the esthetician and by clients who notice the difference in how they look when they walk out.
Combining Post-Extraction LED With a Jelly Mask
The combination of post-extraction LED therapy with a simultaneously applied hydration jelly mask is one of the most clinically well-reasoned and practically efficient protocols in professional esthetics. The jelly mask addresses hydration, occlusion, and cooling — directly counteracting the moisture disruption and thermal stress that extraction work creates. The LED addresses inflammation and cellular repair. Both are delivered in the same 10-to-20-minute treatment window without requiring additional service time. The client experiences simultaneous calming, cooling, and visible redness reduction. The esthetician can perform scalp massage, arm massage, or client education conversation during the same window, adding perceived service value without extending the appointment.
Estheticians who have incorporated ILUMILUX by Luminous Skin Lab into their post-extraction protocols consistently report that the panel’s hands-free positioning design makes the LED-plus-jelly-mask combination genuinely workable within a standard 60-minute facial timeline — not a theoretical add-on that requires an extended appointment. In practice, the sequence runs as follows: extractions are completed, a calming mist is applied, the treatment serum is pressed into the skin, the jelly mask is mixed and applied immediately, and the ILUMILUX panel is positioned over the face. The esthetician then moves to scalp massage or hand massage for 12 to 15 minutes while both the LED and the mask deliver their respective effects simultaneously. Mask removal and final moisturizer application complete the service. Practitioners using this workflow note that clients consistently remark on how much calmer their skin looks post-extraction compared to their experience at other practices — and that this visible outcome difference has become a meaningful client retention driver in their practice.
One observation that comes up repeatedly in practitioner feedback: the combination protocol is most consistently successful when the jelly mask is applied before the LED panel is positioned — not after. Attempting to apply a jelly mask after the LED device is in place creates positional difficulty and disrupts the service flow. Mixed mask, apply mask, then position the LED device is the operational sequence that works.
LED Placement in Specialized Facial Protocols
While the post-active placement applies to most standard facial types, certain specialized protocols call for more deliberate sequencing decisions. Understanding how LED placement adapts to different treatment contexts is an advanced practitioner skill.
Anti-Aging and Collagen Induction Facials
In anti-aging focused facials, the collagen-stimulating potential of red and near-infrared LED is the primary treatment objective. The optimal placement in this context is typically in the mid-to-post treatment phase — after active ingredients like retinoids, peptides, or growth factors have been applied. The enhanced microcirculation from LED delivery improves the uptake of these actives while simultaneously stimulating fibroblast activity. Some estheticians working in advanced anti-aging protocols use a brief pre-treatment LED pass to prime tissue followed by a longer post-serum application, effectively bookending the active treatment steps with LED exposure. Whether this dual-placement approach delivers meaningfully better collagen outcomes than a single post-serum application is not yet established in professional literature, but the biological rationale is sound.
Acne Treatment Facials
Acne facials require a different LED decision tree because the wavelength considerations change. Blue light at 415 to 430 nm, which targets Propionibacterium acnes (now reclassified as Cutibacterium acnes) through porphyrin excitation, is not appropriate for post-treatment application on compromised skin. It is most appropriately placed mid-facial, after cleansing and before extractions, as a targeted antibacterial step. Red light is then appropriate post-extraction for anti-inflammatory support. This means an acne facial may use two separate LED phases — blue pre-extraction and red post-extraction — if the device supports wavelength selection and the appointment time accommodates both. In a compressed 60-minute facial, estheticians typically choose one based on the client’s primary presenting concern: active bacterial acne prioritizes the blue light pre-extraction pass; inflammatory post-extraction acne prioritizes the red light post-active application.
Post-Microneedling Facials
Microneedling is the treatment context with the most established evidence base for LED adjunctive therapy. The post-needling skin state — with its simultaneously active inflammatory and wound-healing cascades — responds to red and near-infrared LED through two parallel mechanisms: anti-inflammatory modulation of the acute post-procedure inflammation and fibroblast stimulation in a cell population already in activated repair mode. LED placement in this context is almost universally post-needling, after growth factor or peptide serum application and concurrent with a post-procedure recovery mask. The clinical literature consistently supports this as one of the most synergistically productive LED combinations available in professional esthetics.
Sensitive and Rosacea-Prone Skin Facials
For clients with chronically sensitized skin or rosacea presentations, LED placement decisions require additional conservatism. Red light at low irradiance is appropriate in the post-active phase and can be genuinely beneficial for redness reduction through its anti-inflammatory mechanism. However, treatment duration should be kept conservative — 8 to 12 minutes rather than the full 20-minute exposure used in other contexts — and the esthetician should monitor client response during the first several sessions. Blue light is generally contraindicated for rosacea-prone skin. Near-infrared can be beneficial for barrier support but should similarly be introduced conservatively.
Practical Considerations That Affect LED Placement in Real Treatment Rooms
Protocol theory and real treatment room practice are not always perfectly aligned. Several practical factors influence where LED therapy actually lands within a facial, and understanding these factors is part of professional protocol competency.
Device Irradiance and Dose Calculation
The effective photon dose delivered during an LED session depends on three variables: wavelength, irradiance (power density, measured in mW/cm²), and exposure time. High-irradiance professional panels can deliver a clinically meaningful dose in 10 minutes. Lower-output devices require more time to reach the same dose. Estheticians who do not know their device’s irradiance output cannot meaningfully calculate whether a 10-minute or 20-minute session is delivering the dose their protocol requires. Consult the device manufacturer’s specifications and dosing protocol before designing any treatment sequence around a specific LED exposure duration.
Client and Device Safety Requirements
Proper eye protection is required for all LED therapy applications regardless of wavelength. The specific eyewear requirement may vary by wavelength and device output — confirm with the device manufacturer. Clients on photosensitizing medications (including certain antibiotics, retinoids at prescription strength, and some cardiovascular medications) require clearance or contraindication evaluation before LED therapy is incorporated into their facial protocol. This safety screening belongs in the intake consultation, not improvised during the treatment itself.
Room Setup and Workflow Efficiency
LED device setup adds a step to the facial workflow that must be accounted for in service timing. Panel devices require positioning, client eye protection application, and distance calibration before the LED phase begins. Estheticians who have not practiced this transition consistently find that it interrupts the pacing of the service until the workflow becomes second nature. Build the setup transition into timed practice runs before introducing LED as a service addition to paying clients.
Professional and Scientific References
The protocol sequencing and mechanism information in this article draws from peer-reviewed photobiomodulation literature and professional esthetic practice evidence:
- Photobiomodulation mechanisms — cytochrome c oxidase absorption, mitochondrial ATP production, and downstream anti-inflammatory cytokine modulation. Hamblin MR. Mechanisms and Mitochondrial Redox Signaling in Photobiomodulation. Photochem Photobiol. 2018.
- Red light anti-inflammatory effects on skin — IL-1β and TNF-α downregulation, IL-10 upregulation. Photomedicine and Laser Surgery; multiple systematic reviews, 2018–2024.
- LED therapy combined with microneedling — synergistic outcomes in collagen induction. Journal of Dermatological Treatment; clinical literature review, 2020–2024.
- Blue light and Cutibacterium acnes porphyrin excitation mechanism. Dermatology clinical literature; established mechanism, multiple sources.
- Post-extraction inflammatory response and recovery timelines. Professional esthetic practice literature; ASCP education resources.
- Wavelength-specific tissue penetration depths: red 630–660 nm (epidermis to upper dermis), near-infrared 810–850 nm (dermis to subcutaneous tissue). Photobiomodulation, Photomedicine, and Laser Surgery, 2019.
For estheticians ready to implement the LED placement protocols described in this guide, having a device engineered specifically for professional facial integration makes the difference between a workflow addition and a workflow disruption. ILUMILUX by Luminous Skin Lab is designed for hands-free positioning within a treatment sequence — enabling the post-active LED-plus-jelly-mask combination protocol without requiring the esthetician to stand at the device throughout the treatment window. The panel delivers red light in the 630–660 nm therapeutic range with professional irradiance specifications appropriate for the 10-to-20-minute treatment windows described in this guide. For estheticians building out an LED-integrated facial menu, ILUMILUX is the device our education team most frequently references in protocol design contexts.
Learn More About ILUMILUXFrequently Asked Questions: LED Therapy Placement in Professional Facials
Where should LED therapy go in a facial — before or after extractions?
LED therapy is most commonly placed after extractions, not before. Post-extraction skin is inflamed and compromised, making it the ideal moment for red light therapy to reduce redness and support cellular repair. Applying LED before extractions does not address the inflammation that extractions create, which is the primary reason most estheticians sequence it after.
Can I use LED therapy at the beginning of a facial to prep the skin?
Yes, pre-treatment LED placement is a recognized protocol strategy. Red light applied before active treatment steps can increase local microcirculation, warm the dermal tissue slightly to improve product receptivity, and prime cellular receptors for the work to follow. Some estheticians use a 5-to-8-minute pre-treatment red light pass specifically before chemical exfoliation or massage to enhance penetration and client comfort.
What is the most common place estheticians put LED therapy in a facial?
The most common placement is in the treatment completion phase — after active steps like exfoliation, extractions, or massage, and before the final moisturizer and SPF. This post-active positioning allows LED to address inflammation created by earlier steps, support barrier recovery, and enhance serum absorption while the treatment window is still open. It is also the placement that most naturally accommodates a jelly mask or hydration mask simultaneously.
Can LED therapy and a hydration mask be done at the same time?
Yes. Combining LED therapy with an occlusive hydration mask — such as a jelly mask — during the same treatment phase is a well-established professional protocol. The LED delivers photobiomodulation while the mask provides simultaneous hydration and occlusion. This combination compresses service time without compromising outcomes and is particularly effective in post-treatment recovery contexts.
Does the position of LED in a facial actually change the results?
Yes, sequencing matters clinically. LED placed before active steps primes tissue and can improve product penetration. LED placed after active steps addresses inflammation, supports barrier recovery, and extends the treatment outcome. LED placed as a standalone mid-treatment step over serums enhances ingredient absorption through a photobiomodulation-driven circulation response. Each placement has a different primary mechanism of action.
Should LED come before or after a chemical peel?
LED therapy is almost universally placed after a chemical peel, not before. Chemical exfoliation creates a compromised, sensitized skin state that LED therapy can help calm through anti-inflammatory photobiomodulation. Applying LED before a peel does not address the post-peel inflammation and offers no meaningful prep benefit specific to the peel itself.
How long should the LED phase last during a facial?
Most professional protocols deliver LED therapy for 10 to 20 minutes per session within a facial. The specific duration depends on the device’s irradiance output, the wavelength being used, and the treatment objective. Higher-irradiance professional panels can achieve effective photon dose delivery in 10 minutes; lower-output devices may require closer to 20 minutes. The treating esthetician should refer to their device’s manufacturer dosing protocol.
Is LED therapy safe to use right after microneedling in the same session?
Yes. LED therapy — particularly red light at 630 to 660 nm — is widely used immediately following microneedling as a post-procedure recovery step. The anti-inflammatory and collagen-stimulating effects of red light are especially relevant on post-needling skin. It is one of the most clinically validated LED combination protocols in professional esthetics.
How does a professional LED device like ILUMILUX fit into a facial treatment sequence?
ILUMILUX by Luminous Skin Lab is designed specifically for integration into professional facial treatment sequences. Its panel format allows hands-free positioning during the post-active phase, and its wavelength output targets the 630 to 660 nm red light range for anti-inflammatory and collagen-supportive outcomes. Estheticians commonly position ILUMILUX after serums are applied and before the final moisturizer step, often concurrent with a jelly mask, allowing the 10-to-15-minute LED window to serve as a productive recovery and product-penetration phase within the treatment.
Sequencing LED Therapy With Intention: The Difference It Makes
The question of where LED therapy fits into a professional facial has a more nuanced answer than most introductory training provides. Pre-treatment, mid-treatment, and post-active placement are not interchangeable options — they are distinct clinical choices that activate different mechanisms and serve different treatment objectives. The esthetician who understands this is positioned to design protocols that actually match the LED’s biology to the skin state they are working with, rather than simply adding the device to a routine as an afterthought.
In most professional facial contexts, the post-active placement — after extractions or exfoliation, over serums, concurrent with a hydration mask — delivers the most consistent and most visible clinical return. It directly addresses the inflammatory and barrier-compromise states that active treatment creates. It fits naturally within the service timeline. And when combined with a well-formulated jelly mask, it compresses two major treatment outcomes into a single 10-to-20-minute window in a way that clients consistently notice and value.
Build your LED placement decisions around the biology, not the schedule. That is what separates a genuinely professional LED protocol from one that simply includes the device.