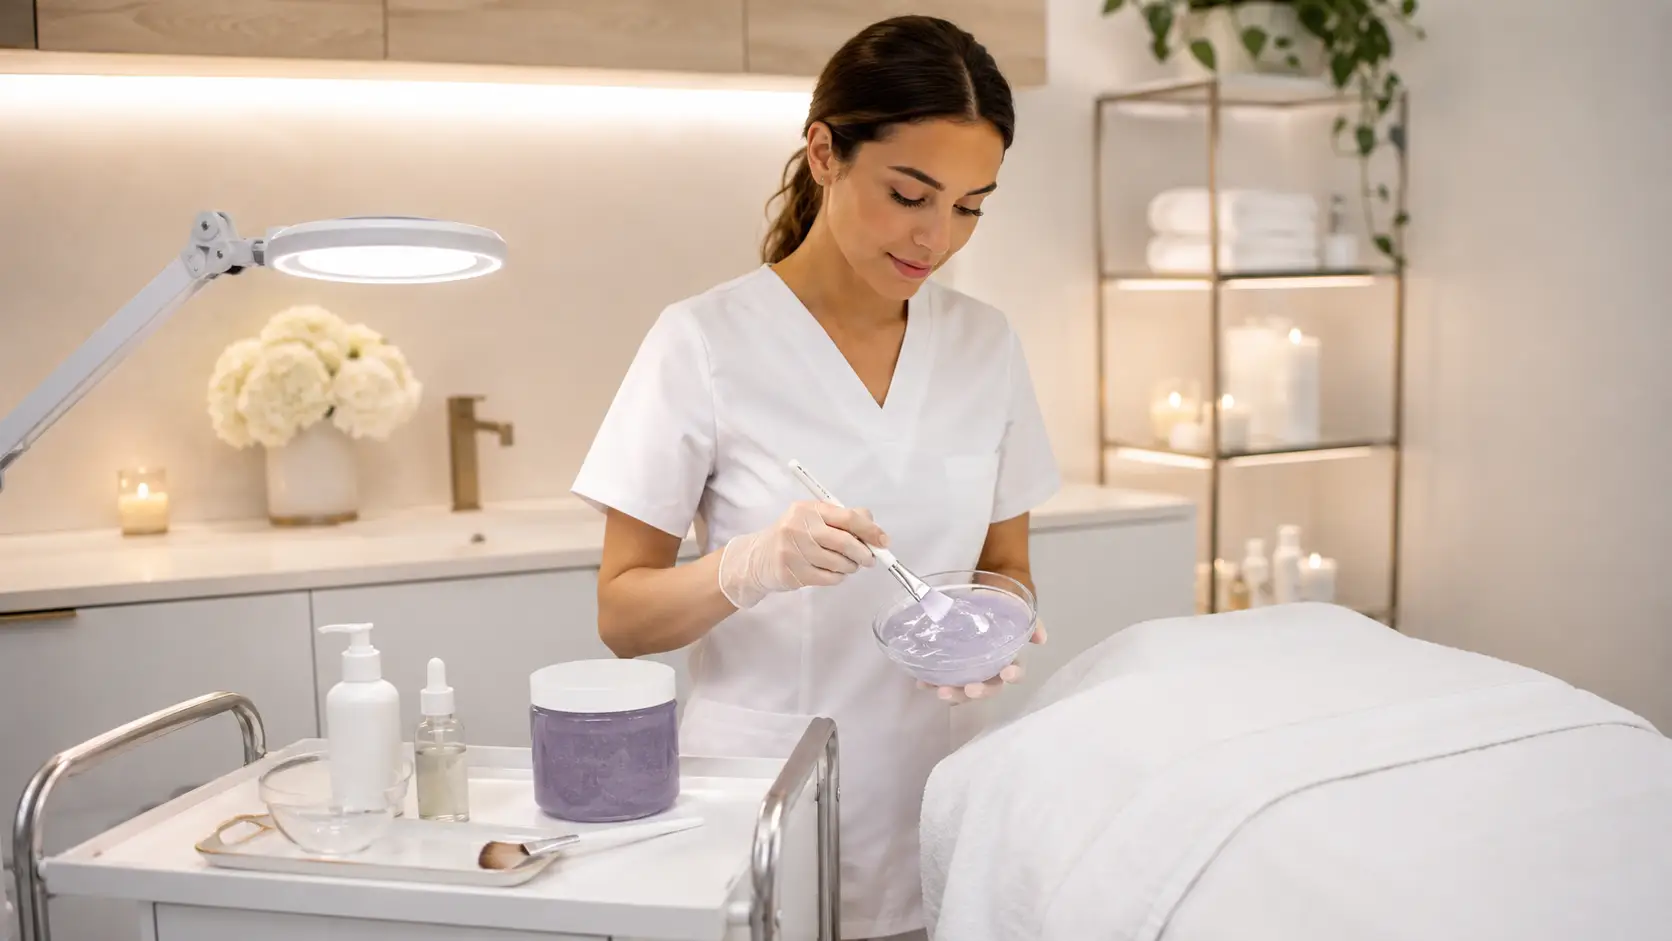
How Do You Introduce a Jelly Mask Into a Beginner Facial?
New estheticians can successfully introduce jelly masks into beginner facials by applying the mask after cleansing, exfoliation, and serums are complete, mixing it using a consistent measured ratio, and presenting it confidently as a premium add-on service. The key is practicing the mixing and application steps until they feel automatic before using the service on a paying client.
- Apply the jelly mask after serums are pressed into the skin — the occlusive mask layer seals in everything applied beneath it and amplifies the hydration result.
- Measure your powder and water precisely every time and test the ratio across five or more practice sessions before adding it to your live service menu.
- Use cooler water to extend your working time as a beginner — this gives you more room to apply the mask smoothly before it starts setting.
- Explain the mask to clients before application in one to two plain-language sentences — the sensory experience is genuinely exciting and clients who know what to expect enjoy it more.
- Price jelly masks as an add-on from day one — never include them in your base facial price, as this sets the wrong value anchor early in your career.
- The peel-off removal moment is often the most memorable part of the service — let it happen cleanly and give the client a moment to see and feel the result.
For most new estheticians, adding a jelly mask to their facial menu feels like a bigger step than it actually is. The mixing, the application window, the set time, the dramatic peel-off — it all sounds more technical and time-sensitive than it turns out to be once you have practiced the sequence a handful of times. In reality, jelly masks are one of the most beginner-friendly ways to immediately elevate the perceived quality of a basic facial service, and they are approachable enough to introduce early in your career without requiring advanced technique.
The challenge most new estheticians face is not the skill level required — it is knowing where the mask fits within an existing facial protocol, how to set up for it efficiently, how to communicate it confidently to clients, and how to price it in a way that reflects its genuine value. These are the gaps this guide is designed to close.
Whether you have been practicing for three months or are still in school and building your menu, this article gives you a clear, practical framework for introducing jelly masks into your beginner facials from the first time you offer them.
What to Know Before You Add a Jelly Mask to Your Facial Menu
- Jelly masks slot naturally into the mask step of a standard facial — no protocol redesign is required to add them.
- Practice mixing and application on yourself or a mannequin until the physical steps feel automatic before using the service on a paying client.
- Applying the mask over a hydrating serum creates a synergistic hydration effect that dramatically improves the client skin result.
- Cooler water extends your application window — this is especially helpful for beginners still building speed.
- Client communication before and during the mask dramatically improves their experience — describe what they will feel before they feel it.
- Price as a clear add-on from your first paid service — the perceived value justifies it and clients rarely push back.
- The peel-off removal moment is a natural retention and rebooking trigger — use it deliberately.
Why Jelly Masks Are One of the Best First Add-Ons for New Estheticians
New estheticians often approach their service menu with a mix of enthusiasm and uncertainty. You want to offer treatments that genuinely deliver results, create an experience clients want to return for, and position your work as worth paying for — all while you are still building confidence and speed. Jelly masks sit at an unusual intersection of all three of those goals.
Unlike more advanced add-ons such as nano infusion or chemical peel upgrades, jelly masks do not require additional licensing, do not carry meaningful risk of adverse reactions on healthy skin, and do not demand specialized equipment. What they do require is a precise mixing step, an understanding of where they fit in the facial sequence, and the communication skills to present them in a way that matches the experience they deliver.
Estheticians who begin offering jelly masks early in their careers consistently report that clients perceive them as one of the most distinctive parts of the service. The visual uniqueness of the mask, the cooling sensation during application, and the theatrical peel-off removal create a sensory memory that clients associate with you and your treatment room specifically. That stickiness is valuable for early client retention in a way that is difficult to replicate with conventional mask products.
From a business perspective, jelly masks also offer some of the best margins of any facial add-on available to a beginner. Cost per application is low, the per-service premium clients willingly pay is meaningful, and the skill level required to execute the service well is achievable within a few practice sessions. For all of these reasons, jelly masks are consistently recommended as one of the first premium add-ons a new esthetician should consider adding to their early service menu.
Where a Jelly Mask Fits in a Beginner Facial Protocol
One of the most common questions new estheticians have when they first add a jelly mask to their menu is simply: where does it go? The answer is straightforward once you understand the function the mask is performing in the service.
A professional jelly mask functions as the occlusive hydration and recovery layer of a facial. It seals in everything applied to the skin beneath it — serums, actives, and the skin’s own moisture — while simultaneously delivering the humectant ingredients within the mask formulation and providing a cooling, calming effect on the skin surface. This functional role places it clearly after any cleansing, exfoliation, extractions, and serum application steps, and before your closing moisturizer and SPF.
A Standard Beginner Facial Sequence With a Jelly Mask
-
Consultation and skin analysisAssess skin type and any sensitivities. This is also where you mention the jelly mask add-on and confirm the client is interested.
-
Double cleanseRemove makeup, sunscreen, and surface debris. Skin should be thoroughly clean before any further steps.
-
ExfoliationEnzyme, gentle mechanical, or low-strength chemical exfoliant appropriate for the skin type. Rinse and pat dry.
-
Toner or essenceBalance skin pH and prepare the surface for serum absorption. Press gently into skin rather than wiping.
-
Extractions (if applicable)Complete any extractions before serum application. The jelly mask serves as the calming recovery step after this.
-
Treatment serum applicationApply your hydration or treatment serum and press firmly into skin. This is a critical step — the jelly mask occludes the serum beneath it and amplifies its absorption during the set window.
-
Mix and apply jelly maskMix powder and water at your tested ratio, work quickly from forehead down, apply in a thick even layer. Communicate what the client is about to feel before you begin.
-
Mask set time: 12–15 minutesUse this window for scalp massage, hand and arm massage, or quiet rest. The mask should be fully firm before you attempt removal.
-
Jelly mask removalLoosen a corner at the chin or jaw, peel slowly upward in one piece. Have a clean tray ready. Let the client see the mask — this is a key experience moment.
-
Closing moisturizer and SPFApply a light moisturizer and SPF to seal the treatment. Skin should appear noticeably hydrated and luminous at this point.
In a 50-minute facial, the jelly mask application and set time typically occupies minutes 30 through 48, leaving minutes 1 through 30 for cleansing, exfoliation, serum prep, and minutes 48 through 50 for closing steps. Map this out on paper before your first live session so the timing feels natural rather than rushed.
Mixing Technique: How to Get It Right as a Beginner
The mixing step is the part of jelly mask application that causes the most anxiety for new estheticians. The concern is understandable — you have a limited working window once the powder hits the water, and if the mixture is wrong or application is too slow, the mask sets prematurely on the skin or in the bowl. With a few focused practice sessions, however, this step becomes one of the most repeatable parts of the entire service.
The Basics of Jelly Mask Mixing
Most professional jelly mask formulations use a 1:1 or 2:1 powder-to-water ratio by volume. Always follow the specific brand’s stated ratio and use a dedicated rubber mixing bowl and spatula designed for this purpose. The mixing process should take 20 to 30 vigorous seconds — you are looking for a smooth, lump-free gel with the consistency of a thick pudding. Any lumps in the mixture will show up as inconsistencies in the final applied layer.
How Water Temperature Affects Your Working Time
Water temperature directly influences how quickly the mask begins to set. Warm water accelerates the gelling reaction, shortening your application window. Cool water slows the reaction and gives you more time to work. As a beginner, using cool but not ice-cold water — approximately room temperature or slightly cooler — is the single most effective adjustment you can make to give yourself a more comfortable application window. Most experienced estheticians can apply a full face mask within 45 to 60 seconds. As a beginner, giving yourself 75 to 90 seconds of working time while you build speed is a practical and appropriate accommodation.
Setting Up Before You Mix
Have your mixing bowl, measured powder, measured water, and application spatula or brush positioned and ready before the client’s serum is fully applied. The transition from serum to mask should be fluid and confident. If you are reaching across the room for your mixing bowl while the client is lying with fresh serum on their face, the pacing of the service is already disrupted. Pre-staging your mixing supplies is a small operational detail that makes a significant difference in how professional your service flow feels.
How to Use the Set Window Productively
Once the jelly mask is applied and begins to set, you have 12 to 15 minutes of hands-free time. For new estheticians, this window can feel awkward at first — you are used to being actively engaged with the client’s skin throughout the service, and suddenly there is a structured pause. How you use this pause is both a client experience decision and a service value decision.
Scalp and Facial Pressure Point Massage
Gentle scalp massage through the hairline and down the neck and shoulders is one of the most effective ways to use the set window. Clients find it deeply relaxing, it adds a spa-experience dimension to the service that feels intentional rather than like you are simply waiting, and it requires no additional supplies or products. Many estheticians who use jelly masks regularly find that clients cite the scalp massage during the set window as one of the most memorable parts of the service.
Hand and Arm or Décolleté Massage
A brief hand, lower arm, and décolleté massage during the mask set window is a natural service add-on that many estheticians incorporate as part of a premium facial upgrade. This elevates the perceived value of the session without requiring additional time — the set window already exists in your protocol, so you are simply filling it with intentional touch work that reinforces the luxury positioning of the service.
Client Education and Retail Conversation
The set window is also a natural moment for a brief, relaxed conversation about what the client is experiencing, what the mask is doing to their skin, and what home care recommendations follow from the treatment. This does not need to feel like a sales pitch. Estheticians who use the set window for light educational conversation consistently report that retail conversations that begin during this period feel more organic and less transactional than recommendations made at the checkout desk.
Estheticians who introduce the Poly-Luronic™ Jelly Mask by Luminous Skin Lab early in their careers consistently note that the predictable 12-to-15-minute set window is one of the most practically valuable characteristics of the formulation for a new practitioner. Unlike some jelly masks that set faster than expected — which eliminates the service window and forces the esthetician to simply stand and wait — the consistent set behavior of this formulation allows a confident scalp massage sequence and a full retail conversation without needing to monitor the mask anxiously. New estheticians also report that the dual PGA and hyaluronic acid formulation produces a noticeably immediate skin response at removal — visible brightness and softness that clients comment on without prompting — which builds the new esthetician’s confidence in the product and their ability to explain its results credibly. For the first several months of practice when every client reaction matters for building belief in your own skills, that consistent visible result is not a small thing.
One practical observation repeated across new estheticians using this formulation: clients almost always pick up the removed mask and examine it themselves. That moment of curiosity and delight — when a client holds the gel cast of their own face in their hands — is a natural conversation opener that leads to rebooking more reliably than almost any verbal recommendation a new esthetician can make.
How to Communicate the Jelly Mask Experience to Clients
Client communication during a jelly mask service is one of the most underestimated elements of the treatment. New estheticians who skip the brief preparation conversation before application consistently find that clients who do not know what to expect react with surprise or mild discomfort when the cool gel hits their face — reactions that are entirely preventable with one or two well-chosen sentences in advance.
What to Say Before Application
Keep your pre-mask explanation short, sensory, and forward-looking. The goal is to give the client just enough information to feel oriented without over-explaining. Something along the following lines works well:
“I’m going to apply a professional rubber mask now. It’s going to feel cool and refreshing when it goes on — it sets into a flexible gel layer that we peel off in one piece at the end. It’s one of my favorite parts of the facial.”
This sets up the sensory experience, creates mild anticipation, and connects the experience to your enthusiasm for the treatment. Clients who are mentally prepared for the cool sensation enjoy it rather than reacting to it.
What to Say After Removal
The removal moment is your most powerful client communication opportunity. After peeling the mask and placing it on your tray, give the client a brief mirror and say something like:
“Take a look — your skin is going to feel noticeably softer and more hydrated right now. The mask was sealing in the hyaluronic acid serum we applied earlier while delivering its own hydration ingredients. This is what your skin looks like after full hydration recovery.”
This connects the result to the science, makes the outcome feel meaningful rather than coincidental, and positions you as an educated practitioner rather than just a service provider who applies products. Clients who understand what they are seeing and feeling are clients who rebook.
Answering Common Client Questions
New estheticians should expect and prepare for a few common client questions when they introduce jelly masks. The most frequent ones include questions about whether the mask will feel claustrophobic or trap heat, whether it will damage the skin or leave residue, and why it does not look like a standard mask product. Having brief, confident answers ready for each of these removes hesitation from the consultation step and builds the client’s trust in your product knowledge.
“Will it feel tight or uncomfortable?”
- Explain the mask feels cool and refreshing initially
- Confirm it sets gently without pulling or pressure
- Mention they will be able to breathe normally
- Let them know they can signal you if anything feels off
“Why does it peel off like that?”
- Explain the alginate base gels and sets into a flexible layer
- Confirm this is by design — not a product defect
- Note it is a professional grade treatment product
- Connect the experience to the visible skin result they are seeing
“Is there residue left on my skin?”
- A well-formulated mask leaves minimal to no residue
- Any slight moisture is from the hydrating ingredients
- Proceed to moisturizer and SPF as normal
- Skin should feel hydrated, not sticky or coated
“How often should I do this?”
- Every three to four weeks is ideal for maintenance
- More frequently following active treatments or seasonal dryness
- Use this question to introduce a facial series or package
- Offer to book the next appointment before they leave
Pricing Jelly Masks as a New Esthetician
Pricing is one of the most anxiety-producing decisions new estheticians face, and jelly mask add-on pricing is no exception. The temptation for many beginners is to include the jelly mask in the base facial price as a way of making their service feel more competitive or to avoid the perceived awkwardness of asking for an additional charge. This approach consistently creates problems later and should be avoided from day one.
Why You Should Always Charge Extra for Jelly Masks
When you include a jelly mask in your base facial price without acknowledgment, you establish an expectation that the mask is simply part of the standard service. Clients who receive it at no separate charge have no reason to perceive it as a premium element. When you then need to raise your prices or charge for the mask separately, you face the difficult conversation of explaining why something that used to be included now costs more. Beginning with a clear, named add-on price avoids this entirely.
A jelly mask add-on priced at fifteen to thirty dollars above the base facial price is supported by the perceived value of the experience — the visual impact, the cooling sensation, the peel-off reveal, and the visible skin result all communicate premium quality to the client in ways that justify the additional charge without extensive explanation. Most clients who are asked whether they want to add a jelly mask say yes far more often than new estheticians expect.
How to Introduce the Upsell Naturally During Consultation
The most effective moment to mention the jelly mask add-on is during your pre-treatment consultation, framed as a recommendation based on what you observe in the skin rather than a scripted sales pitch. Estheticians who connect the add-on to a specific client concern — dehydration, post-treatment recovery, skin sensitivity — find it accepted more readily than a generic offer made at the start of the service. Saying “I noticed your skin is quite dehydrated today — I would recommend adding a jelly mask as the final mask step to really seal in the hydration” gives the client a clinical reason to say yes rather than an impulse purchase decision.
Practical Pricing Guidelines for Beginners
- Solo or suite-based new esthetician: $18–$25 add-on is appropriate in most markets for an established jelly mask service presented as a professional treatment upgrade.
- Spa employed, shared menu: Discuss add-on pricing with your employer or spa manager and ensure the jelly mask is listed as a named add-on on your service menu.
- Introductory first month: Some new estheticians offer the jelly mask at a slight introductory discount for their first ten to fifteen clients as a way of building service familiarity and comfort. This is acceptable if clearly framed as introductory pricing with a stated end date.
- Never free: Even during practice sessions with friends or family, charge something for the jelly mask. Building the habit of charging for it from the beginning is more important than the specific dollar amount.
Common Mistakes New Estheticians Make When Introducing Jelly Masks
Not Practicing Enough Before the First Client
The most common and consequential mistake. Five practice sessions minimum — on yourself, a mannequin, a willing friend, or a fellow student — before your first paid jelly mask service. This is not excessive caution; it is the minimum needed to move the mixing and application steps from conscious effort to automatic execution.
Using Warm Water to Mix
Warm water accelerates the set reaction and reduces your application window. Beginners who mix with warm water consistently find themselves spreading a partially setting mask, which results in an uneven application, visible texture inconsistencies, and a compromised removal. Use cool water until your speed and confidence are fully established.
Skipping the Pre-Application Communication Step
Applying the mask without a brief explanation first is one of the fastest ways to create a negative client experience from a product that should consistently generate positive reactions. Take 15 seconds to describe what the client is about to feel. This is especially important for first-time jelly mask clients and for clients who identify as having sensitive or reactive skin.
Applying the Mask Too Thinly
A thin jelly mask application results in a mask that sets unevenly, tears during removal, and does not provide the full occlusive hydration benefit the treatment is designed to deliver. A professional jelly mask layer should be thick enough that the skin beneath it is not visible through the gel. If you can see skin tone through the applied mask, the application is too thin.
Attempting Removal Before the Mask Is Fully Set
A partially set jelly mask tears, leaves residue, and creates a messy removal that disrupts the client experience. The mask is ready for removal when it is fully firm across the entire face with no remaining soft or tacky areas. When in doubt, give it another two minutes. A mask that sets for 17 minutes instead of 15 will not harm anyone. A mask pulled off at 10 minutes will leave a residue mess that is difficult to recover from professionally.
Professional References and Further Education
The application guidance and ingredient references in this article draw from the following professional sources:
- Polyglutamic acid hydration mechanisms and hyaluronidase inhibition. Typology Skincare, 2021–2025; Reviva Labs clinical literature review, 2025.
- Sodium alginate gelling properties and professional mask formulation standards. Established cosmetic chemistry and biomedical sciences literature.
- Water temperature effects on alginate gelation kinetics. Applied polymer chemistry literature.
- Occlusion effects on topical active absorption. Dermatological cosmetic formulation research.
- Treatment room communication and client experience in esthetic services. Luminous Skin Lab Education Team practitioner synthesis, 2026.
For new estheticians ready to add a jelly mask to their beginner facial menu, the Poly-Luronic™ Jelly Mask by Luminous Skin Lab is the formulation our education team most consistently recommends as a first professional jelly mask. Developed by a licensed esthetician specifically for treatment room use, it offers the consistent mixing behavior, predictable set time, and fragrance-free clean ingredient profile that are most important for a practitioner who is still building confidence and speed. The proprietary dual PGA and hyaluronic acid humectant system delivers visible, immediate skin results at removal that clients notice and comment on without prompting — a meaningful confidence builder for any new esthetician introducing this service type for the first time.
Explore the Poly-Luronic™ Jelly Mask LineFrequently Asked Questions: Introducing Jelly Masks Into Beginner Facials
When in a facial should I apply a jelly mask as a beginner?
Apply a jelly mask after cleansing, exfoliation, and any extractions are complete, and immediately after your treatment serum has been pressed into the skin. This positions the jelly mask as the occlusive recovery and hydration layer that seals everything beneath it. For a standard beginner facial the application window typically falls at around the 30 to 35 minute mark, leaving 12 to 15 minutes for the mask to set before removal and closing steps.
Do I need to do anything special to the skin before applying a jelly mask?
Yes. The skin should be clean, toned, and have a freshly applied hydrating or treatment serum pressed in before the jelly mask goes on. The occlusive nature of the jelly mask seals everything underneath it, so applying it over a serum dramatically increases the benefits both the serum and the mask deliver. Never apply a jelly mask over dry, unprepared skin or you will miss the full hydration synergy the protocol is designed to create.
What is the right water-to-powder mixing ratio for a jelly mask?
Most professional jelly masks use a 1:1 or 2:1 powder-to-water ratio by volume, depending on the specific formulation. Always follow the brand’s recommended ratio precisely and mix vigorously for 20 to 30 seconds until the mixture is smooth and lump-free. Using cooler water slows set time slightly and gives you more application time, which is helpful when you are still building speed as a beginner. Test the ratio at least five times on yourself or a practice partner before using it on a paying client.
How do I explain a jelly mask to a client who has never had one before?
Keep your explanation simple and sensory. Tell the client you are applying a professional rubber mask that sets into a flexible gel layer, delivers deep hydration while it is on, and peels off in one piece at the end. Mention the cooling sensation they will feel during application. Clients respond very well to knowing something interesting is about to happen, and the peel-off removal moment almost always generates an enthusiastic reaction that makes the experience memorable.
Can I use a jelly mask if I am still slow at mixing and applying products?
Yes, with the right preparation. Practice mixing the mask at least five times at home or on a mannequin before your first client session. Have your mixing bowl, spatula, and measured powder and water ready before you begin the facial so the application step flows smoothly. Using cooler water extends your working time. Once you can consistently mix and apply in under 60 to 90 seconds, you are ready to use it confidently in a live service.
Should I charge extra for a jelly mask or just include it in my facial price?
Charge extra. Jelly masks have a strong perceived value with clients because of their distinctive appearance, sensory experience, and visible results. Most new estheticians successfully position them as an add-on priced between fifteen and thirty dollars above the base facial price. Including them for free trains clients to expect them without charging, which erodes your margin and makes it harder to price correctly later. Start with a clear add-on price from the beginning.
What happens if the jelly mask sets before I finish applying it?
If the mask begins setting mid-application, do not try to spread it further or add more water on top. Stop, remove what you can cleanly, and make a note to adjust your technique for next time. To prevent this, use slightly cooler water to extend working time, work quickly in sections starting from the forehead and moving down, and have a helper or mirror nearby during practice sessions. Most beginners resolve this issue within three to five practice sessions once they develop a consistent pace.
How do I remove a jelly mask without making a mess?
Start at the chin or jaw edge, gently loosen a corner of the set mask with your fingertip, and peel slowly upward in one continuous motion. Have a clean towel or treatment tray ready to place the removed mask on immediately. If the mask is well formulated and fully set, it should peel as a single intact flexible piece. If it tears or leaves residue, the mask may not have had sufficient set time or the ratio may have been slightly off. Always confirm the mask is fully firm before attempting removal.
What makes the Poly-Luronic jelly mask a good choice for new estheticians adding jelly masks to their services?
The Poly-Luronic Jelly Mask by Luminous Skin Lab is formulated specifically for professional treatment room use with a predictable set time, consistent mixing behavior, and a fragrance-free clean ingredient profile that makes it safe for a wide range of skin types including sensitive and post-treatment skin. For new estheticians, the consistent ratio-to-set-time performance reduces the variability that causes beginner errors, and the dual PGA and hyaluronic acid humectant system delivers visible client results that build confidence early in your career.
Your First Jelly Mask Service Is Closer Than You Think
Adding a jelly mask to your beginner facial menu is one of the most accessible and rewarding upgrades a new esthetician can make in their first year of practice. The mixing technique becomes automatic within a few practice sessions. The protocol placement is straightforward. The client communication is brief and almost always met with enthusiasm. And the visible result at removal is consistent enough that it builds your confidence as much as it builds your client’s trust in you.
The steps in this guide give you everything you need to introduce jelly masks competently, price them confidently, and communicate them clearly from your very first session. Practice the physical technique until it feels natural, choose a professional-grade formulation designed for treatment room consistency, and present the service as what it genuinely is: a distinct, clinical, sensory experience that a standard facial cannot replicate.
Most new estheticians who add jelly masks early in their career report that the service quickly becomes one of the most requested and highest-retention treatments they offer. Start early, price it properly, and let the product do what it was designed to do.